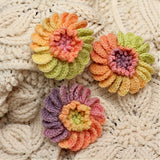
FREE Textured Dream Flower
Inspired by Bonita Patterns’ pattern support guru, Janet Smith with her mantra: “Check your gauge. Check your gauge. Om!”
This flower is such a breeze to make so don’t be surprised if you end up making a mountain of these. They could be used on countless handmade gifts, Spring themed wreaths and a complement for accessories and decor.
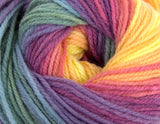
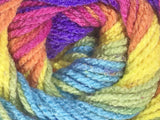
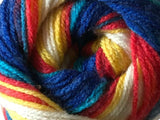
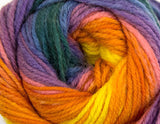
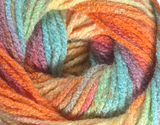
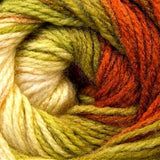
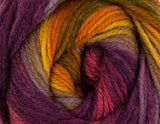
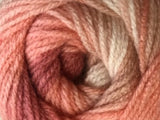
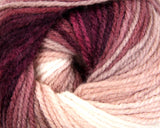
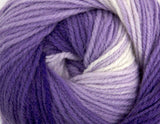
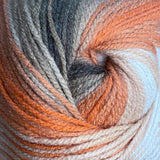
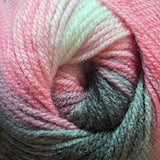
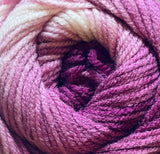
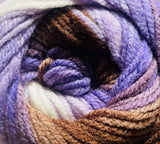
I made it with our yummy Dream Baby yarn which is 20% off this week. Scroll down to see the beautiful colorways in stock. (Offer valid from Mar 25 - Mar 28. No coupon needed).

Note: Readers are asking where to find the pattern for the afghan under the flowers. This is one of my premium patterns. It uses the “Embossed Crochet” technique, which translate the texture and depth of Aran knitting. You can find the paid pattern HERE.
![]()
Premium Pattern: Embossed Daisy Blanket
Materials:
- 1 ball of Dream Baby colorway (sport weight); 100% acrylic (393 yards/100 g skein).
- US size F (3.75 mm) hook
- Stitch markers
- Yarn needle
- Scissors
Stitch Abreviations:
Beginning (beg)
Back Loops Only (blo)
Chain (ch)
Double Treble Crochet (dtr) – yo hook 3 times, insert crochet hook in st indicated, yo, draw loop through, (yo, draw through 2 loops on hook) 4 times.
Front Loop Only (flo)
Front Post Double Crochet (FPdc): yo and insert hook from the front to the back around the post of the st of previous row. Complete as for a regular dc stitch.
Repeat (rep)
Slip Stitch (sl st)
Space (sp)
Stitch (st)
Treble crochet (Tr)
Gauge is not critical for this project.

Instructions:
Ch 4, join with sl st in first ch to form a ring or use a magic adjustable ring.
Rnd 1: Ch 1 (beg ch doesn’t count as st here and throughout), 6 sc in in ring, join with sl st in first sc. – (6 sc).
Rnd 2: Ch 1, (sc, dtr) in each sc around, join with sl st in first sc. – (12 sts).
Rnd 3: Ch 1, dtr in first st, (sc, dtr) in next st, sc in next sc, (dtr, sc), [dtr in next st, (sc, dtr), sc in next st, (dtr, sc) in next st] twice, join with sl st in first dtr. – (18 sts).
Rnd 4: Ch 1, working in the front loops only (flo), sc in first st, ch 6, sc in same st, * (sc, ch 6, sc in next st), rep from * around, join with sl st in first sc. – (36 sc + 18 ch-6 = 54 sts)

Rnd 5: Ch 1, working in the back loops only (blo) of rnd 3, * sc in next st, ch 4, Tr in same st, ch 3 (count as dc), 7 FPdc around post of Tr, rep from * around, join with sl st in next first ch in the round (bottom of the first petal. See pic 1 and 2), sl in next 3 ch (see pic 3). – There will be 18 petals made (see pic 4).
Rnd 6: This last round is only to arrange and secure the petals in place (see pic 4) to secure the petals in place. * Working behind petals, ch 2, sc in next ch-4 sp of next petal, rep from * around (see pic 5). Finish off. Weave in all ends.


Support our FREE patterns shopping for our premium patterns and yarns HERE.